¶ Wall Survey Indicators

Hollow sound of the insulation (EWI)
An externally insulated wall has the insulation fixed to the outermost masonry layer, in contrast to other scenarios where the outermost layer is masonry with an appropriate finish, such as a cement-sand render, pebbledash or similar.
As a result, the simplest indication of the presence of external wall insulation is to knock on the exterior of the wall:
- a hollow sound indicates the presence of external insulation;
- a heavier, dull sound indicates no external insulation.
This check should be carried out at multiple points along the face of each wall to ensure a consistent result.

Acrylic/silicone render (EWI)
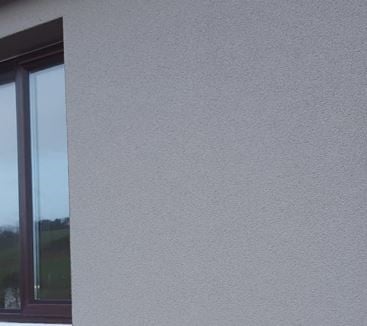
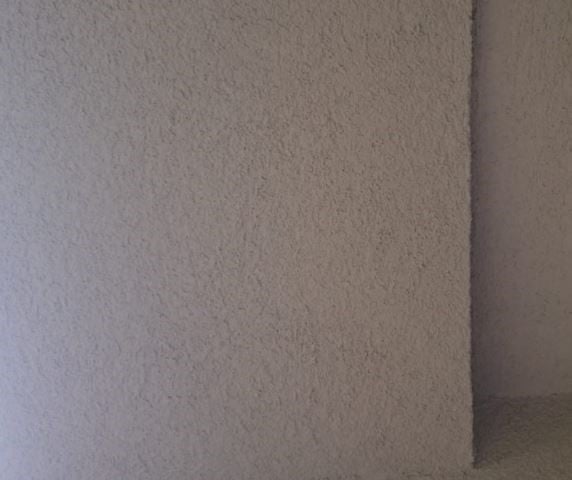
Acrylic/silicone render is essentially a mixture of paint and sand. The size of the grain varies from 0.5/1mm to 3.5/4mm, but the most common grain size is 1.5mm. On the wall, the render finish will have a textured, grained finish, which makes it distinguishable from a standard sand & cement render which will tend to be smoother.
¶ Larger than usual reveal depths (EWI & IWI)
In a standard masonry wall – no external insulation added - the external reveal depth will typically be less than 150mm. When external insulation is retrofitted to the exterior walls of a dwelling, in many cases the windows are not moved. Therefore, the post-works external reveal depths will tend to be larger – typically greater than 200mm.
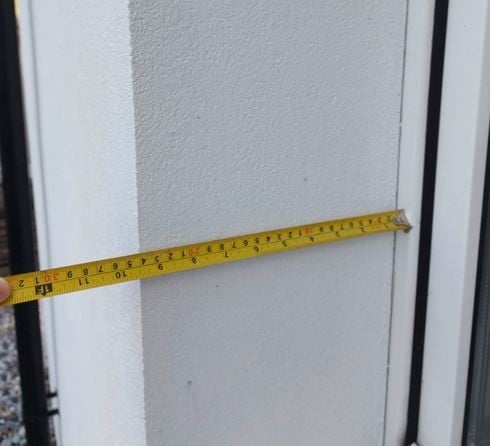
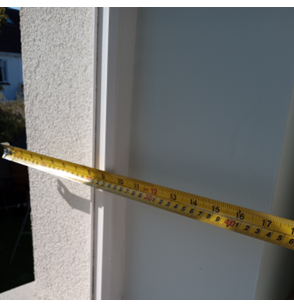
Therefore, a larger than usual external reveal-depth may indicate the presence of external insulation.
However, this does not always apply, in some retrofit projects, the windows will be moved outward to sit in line with the external insulation layer, in which case the external reveals will be of a standard depth.
For internal wall insulation, the larger than expected internal reveals around windows may also provide an opportunity to verify the presence of upgrades. Typically, in dwellings after 1978 internal reveal would be approximately 150mm without upgrades. However, this is not the case with all dwellings and especially older ones (Age band A-E), therefore it would need to be coupled with another indicator to verify the presence of IWI.
In the example in Figure 4 a thickness of over 400 mm can be expected when external insulation has been applied to a hollow block wall that was initially built with 50 mm of internal insulation (Age band H).
¶ Metal/plaster insulated windowsills (EWI)
EWI systems typically have metal or plaster insulated sills specified in the certification for the product. This contrasts with standard sills which are typically made of concrete.
The metal sill is a powder-coated aluminium sill with an insulation insert, and is installed under the window, or attached to the window. This minimises the heat loss due to thermal bridging at the junction of the window, sill, and wall. The size and shape of these sills can vary, from small 25mm front ends to thicker 80mm front ends.
Plaster windowsills are essentially sections of insulation, shaped to look like a concrete sill, with a mesh-reinforced plaster finish. These usually have a front-end thickness of 60mm. Metal or plaster sills can be distinguished from standard concrete sills by the sound made when you knock on the sill. A metallic or hollow sound would indicate a metal or plaster sill; a heavier, dull sound would indicate a concrete sill.
¶ Metal flashings at soffit/barge level (EWI)
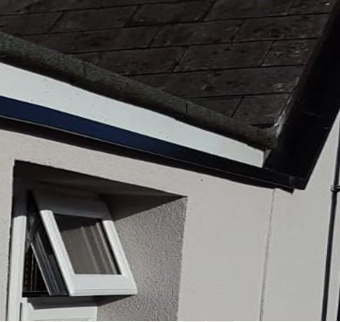
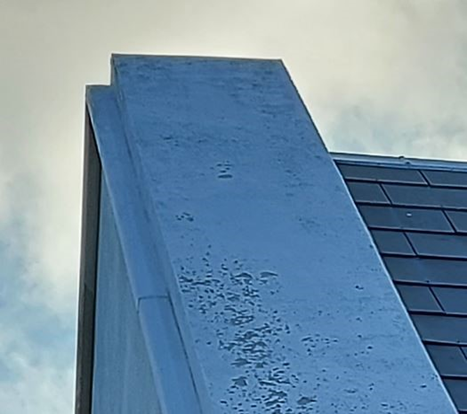
In retrofit scenarios, it is common to find that existing barges and soffits on a dwelling may not have the required depth to accommodate the thickness of insulation, installed. This could compromise the waterproofing of the insulation. To counter this, flashings can be attached to the underside of the barges and soffits to extend out over the insulation and allow any water to drop to the ground. These flashings are usually made of powder-coated aluminium.
¶ Wall thickness confirmation – EWI with adjoining house
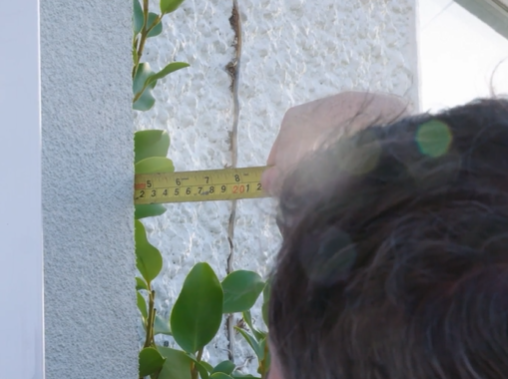
Another opportunity to verify EWI is the boundary between two houses where the other house hasn’t installed EWI, shown in Figure 4. As the insulation can be measured onsite in this instance, use the onsite measurable verification route to confirm the EWI upgrade.
¶ Filled Cavity wall insulation (CWI)
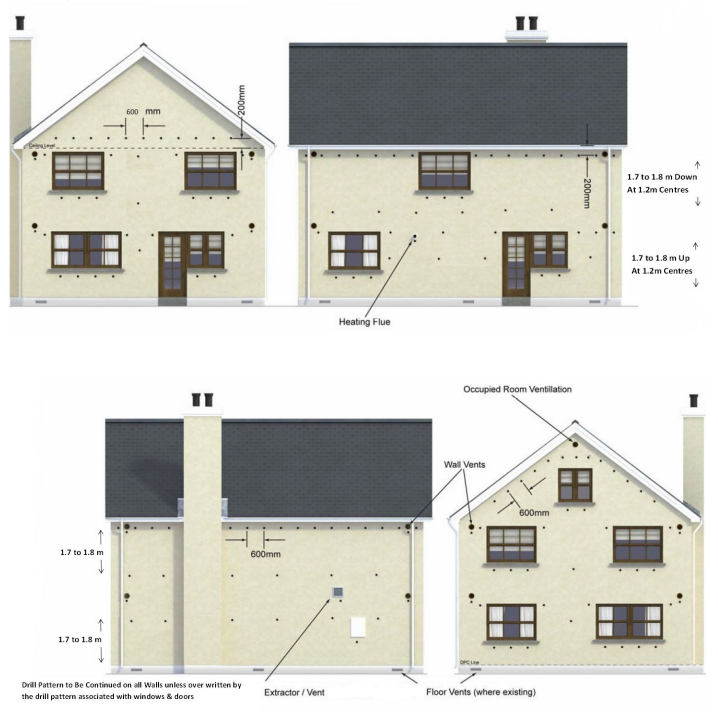
One of the main indicators for the presence of CWI is the drill pattern on the exterior of external walls. Drill mark should be spread out across larger wall sections and especially around windows where the flow of the beads may be restricted by the window hence requiring more holes for a better installation. These marks are typically filled with mortar. If using the presence of these marks as evidence of cavity wall fill insulation, they must be visible on each facade for which the filled cavity wall U-value is to be applied.
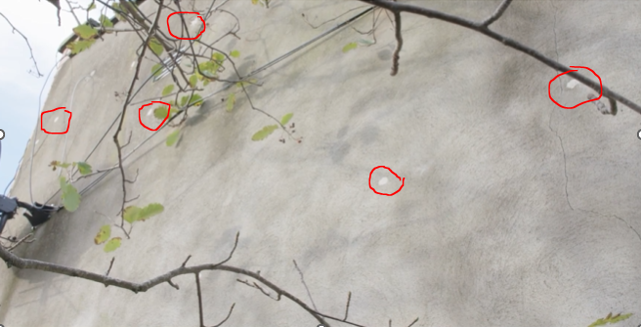
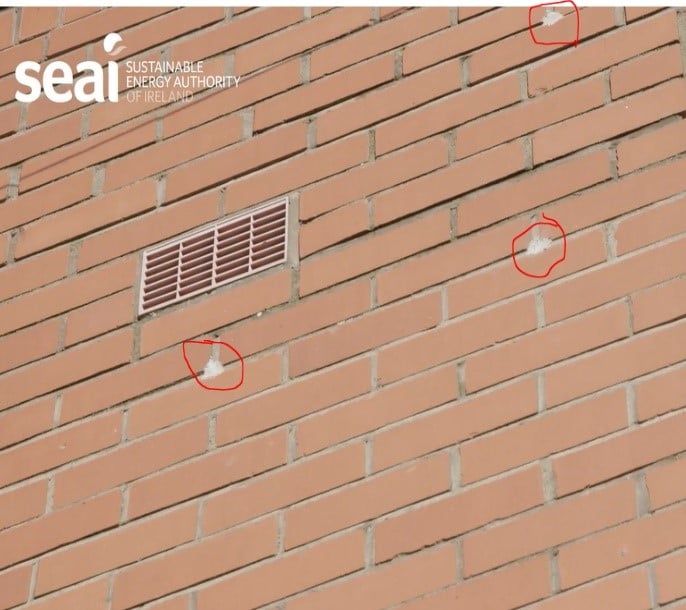
Figure 6 shows a typical drill pattern for bead filled cavity wall insulation according to a NSAI Agrément certificate1 or equivalent. For this verification indicator, the drill pattern should be similar to this pattern for all facades. If the pattern has significantly less drill holes/marks, especially around windows, a second indicator should be gathered to verify filled CWI for the dwelling.